
Diy Wooden Outdoor Furniture Alternatives
📖 Table of Contents
- Choosing the Right Wood for Your Outdoor Project
- Essential Tools for a Successful Build
- Designing Your Outdoor Furniture
- Cutting and Assembling the Pieces
- Finishing and Sealing Your Outdoor Furniture
- Maintaining Your DIY Wooden Outdoor Furniture
- Inspiration and Customization Ideas
- Make It Your Way
- Frequently Asked Questions
Last summer, I spent a rainy afternoon in my garage, trying to figure out how to replace my weather-worn plastic outdoor chairs without breaking the bank. I had always been drawn to the idea of crafting my own furniture, but the thought of working with wood felt daunting. As I rummaged through my storage bins, I found a stack of leftover cedar planks from an old deck project — and that moment became the start of a new chapter in my DIY journey. The result? A set of sturdy, beautiful wooden outdoor chairs that now sit by my back patio, weathered but still standing strong after two seasons of use.
The idea of building your own outdoor furniture has grown increasingly popular, especially as people look for cost-effective, eco-friendly alternatives to mass-produced options. I found that working with wood not only gave me a sense of control over the final product but also allowed me to tailor each piece to fit my specific needs and aesthetics. Whether you're looking for a simple bench, a rustic table, or a set of armchairs, there's a DIY wooden outdoor furniture alternative that can meet your requirements and budget.
What I've learned through trial and error is that building your own wooden outdoor furniture doesn't require advanced skills or a lot of money. With the right tools, materials, and a bit of patience, even a beginner can create something that not only looks great but also lasts through the seasons. The key is to choose the right wood, understand how to treat it for outdoor use, and take the time to build each piece with care. The satisfaction of creating something with your own hands, knowing it's built to last, is truly rewarding.
Why You'll Love This DIY Project
- Customization and personalization options that match your outdoor space perfectly
- Cost-effective compared to buying pre-made pieces from stores
- A durable and eco-friendly solution that can last for years with proper care
- A satisfying and creative way to spend time outdoors or in your garage
Choosing the Right Wood for Your Outdoor Project
As of September 2026, Cedar is a popular option for outdoor furniture because it contains natural oils that help resist decay and insects. I used cedar for my first project and found it to be durable and low-maintenance, even after being left outside for months. It also has a pleasant aroma and a rich, reddish-brown color that adds warmth to any space.
Pressure-treated pine is another cost-effective option that is widely available at hardware stores. It has been treated with chemicals to help it withstand the elements, making it a great choice for budget-friendly builds. I've used pressure-treated pine for a couple of smaller projects, and it has held up well, though I always apply a coat of sealant to protect it from the sun and rain.
I recommend avoiding softwoods like regular pine or spruce unless they are pressure-treated. These woods are more prone to warping and rotting when exposed to moisture. Always inspect the wood for any signs of damage or insect infestation before starting your project.[1]
When purchasing wood, look for a grade label that indicates the quality and type of treatment. Higher grades usually mean fewer knots and imperfections, which is ideal for a smoother finish.
Part of our Diy wooden outdoor furniture checklist guide.
Essential Tools for a Successful Build
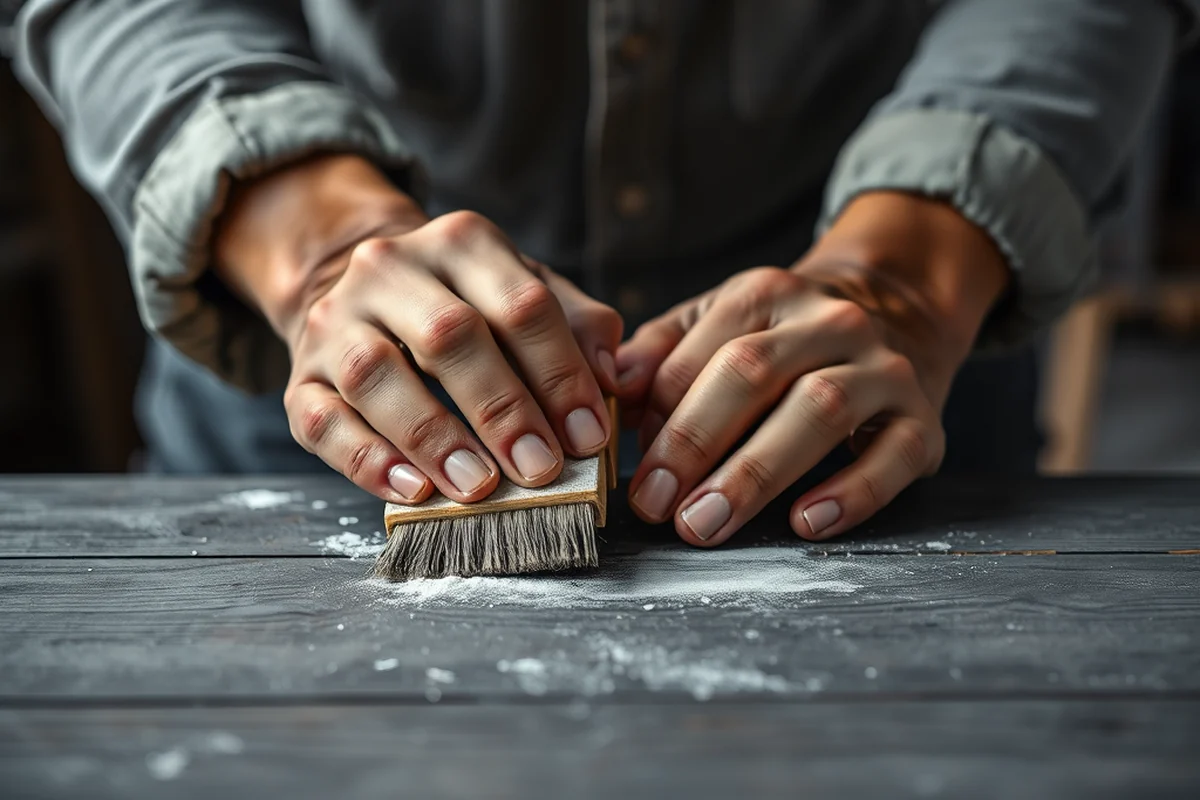
A circular saw or miter saw is essential for cutting the wood to the correct size and shape. I've found that a miter saw is particularly useful for making precise angled cuts, which is helpful for creating corners and joints in tables and chairs.
A power drill and a set of screws will help you assemble the pieces quickly and securely. I've used a combination of screws and wood glue for added strength, which has helped my furniture withstand the elements without coming apart.
A sander is also a valuable tool for smoothing out the edges and surfaces of the wood before painting or sealing it. I always sand the wood multiple times to ensure a smooth and even finish that looks professional and lasts longer.
A few basic tools can make all the difference in your DIY project.
Related: Diy wooden outdoor furniture benefits
Related: Diy wooden furniture not working
Related: Diy wooden garden ornaments checklist
Designing Your Outdoor Furniture
I always begin by drawing a simple sketch of the furniture I want to build, including the dimensions and the placement of the legs, arms, and any other structural elements. This helps me see how the pieces will come together and identify any potential issues before I start building.
You can also find free plans online or in DIY magazines that can guide you through the design process. I've used several free plans in the past, and they've been a great resource for learning new techniques and ideas.
I recommend starting with a simple design if you're a beginner. A basic bench or table can be a great way to practice your skills and build confidence before moving on to more complex projects like chairs or armchairs.[2]
There are countless online resources that can help you design your own furniture. I've found that Pinterest and YouTube are particularly useful for finding plans and tutorials that match your skill level and project goals.
“Last summer, I spent a rainy afternoon in my garage, trying to figure out how to replace my weather-worn plastic outdoor chairs without breaking the…”— DIY Wooden Garden Path Markers editors
Related: Diy wooden outdoor furniture not working
Related: Diy wooden furniture templates
Cutting and Assembling the Pieces
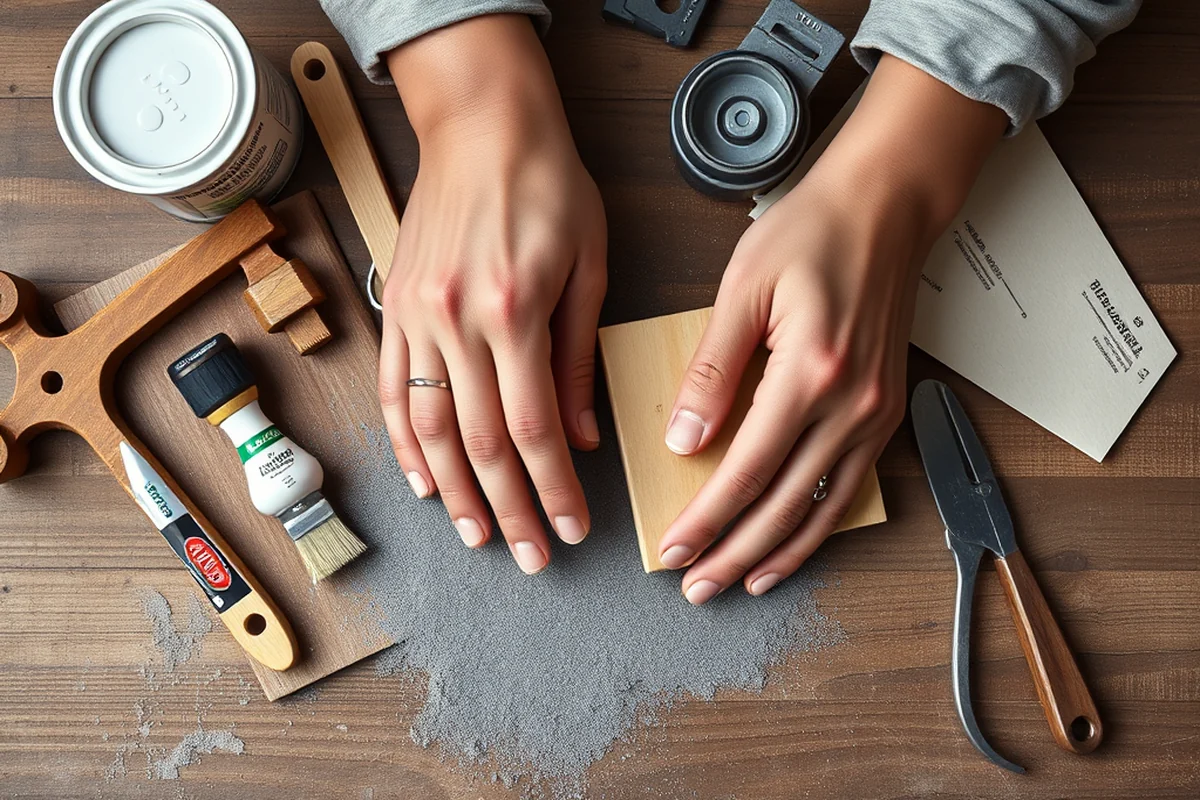
I always measure twice before cutting once. This helps prevent errors and ensures that all the pieces are the correct size. I've made the mistake of cutting a piece too short before, and it was a pain to redo the entire section later.
When assembling the pieces, I like to use a combination of wood glue and screws for added strength. This helps the joints hold together securely and prevents them from coming apart over time. I've found that using a clamp to hold the pieces together while the glue dries makes the assembly process much easier.
After the pieces are assembled, I always take the time to inspect them for any gaps or misalignments. This is a good opportunity to make any necessary adjustments before moving on to the next step.
Finishing and Sealing Your Outdoor Furniture
I recommend using a high-quality wood stain or paint that is designed for outdoor use. I've found that using a stain with a UV protector is especially important for preventing the wood from fading or cracking over time.[3]
After applying the stain or paint, it's important to allow it to dry completely before applying a sealant. I've used a clear polyurethane sealant on most of my projects, which has helped keep the wood protected and looking great even after months of use.
I always apply at least two coats of sealant, allowing each coat to dry completely before applying the next. This helps create a strong, protective barrier that keeps the wood looking fresh and new for years to come.
Maintaining Your DIY Wooden Outdoor Furniture
I make it a habit to clean my outdoor furniture at least once a month, using a mild soap and water solution to remove dirt and debris. This helps prevent buildup and keeps the wood looking its best.
I also check the sealant every few months and reapply it as needed. This helps keep the wood protected from moisture and UV damage, which can cause it to warp or fade over time.
If I notice any signs of wear or damage, I take the time to repair it as soon as possible. This helps prevent small issues from turning into bigger problems down the line.
A little maintenance goes a long way in keeping your DIY furniture looking great.
Inspiration and Customization Ideas
I love experimenting with different colors, textures, and finishes to create unique pieces that reflect my personality and taste. Whether I'm using a bold color or a natural stain, each project feels like an extension of my own creative expression.
I've also found that adding decorative elements like carved details, inlays, or even paint accents can help make your furniture stand out. These small touches can make a big difference in the overall look and feel of your outdoor space.
I recommend starting with a simple design and gradually adding more custom features as you become more comfortable with your skills. This allows you to build confidence and develop your own unique style over time.[4]
💰 Budget Build
Perfect for those on a tight budget, this variation uses affordable materials like pressure-treated pine and basic tools to create a sturdy outdoor table or bench.
⏰ Weekend Version
A quick and easy project that can be completed in one weekend, ideal for those with limited time and wanting to complete a simple piece like a garden bench or side table.
🌟 Upgraded Finish
This variation focuses on enhancing the appearance of your furniture with high-quality stains, sealants, and decorative elements for a more polished look.
🏠 Small-Space Adaptation
A great option for those with limited outdoor space, this variation includes compact designs like small chairs or tables that fit perfectly in tight corners or patios.
🔒 Rental-Safe Option
This variation is ideal for those who need to build furniture that can be easily disassembled and transported, making it perfect for rental properties or temporary outdoor setups.
| The mistake | Why it happens | The fix |
|---|---|---|
| Cutting the wood pieces to the wrong size | This can lead to gaps or misalignment in the final piece, making it unstable or unattractive. | Always measure twice before cutting once and double-check the dimensions against your design sketch. |
| Using the wrong type of wood for outdoor use | Softwoods that aren't pressure-treated can warp, rot, or be susceptible to insect infestation. | Choose wood types like cedar or pressure-treated pine that are naturally resistant to the elements. |
| Skipping the sealing process | Without proper sealing, the wood can be vulnerable to moisture, UV damage, and insect infestation, reducing its lifespan significantly. | Always apply a high-quality wood stain or paint with UV protection and a clear polyurethane sealant. |
| Not assembling the pieces properly | Poor assembly can cause the furniture to wobble or come apart over time, especially when exposed to weather conditions. | Use a combination of wood glue and screws for added strength, and always clamp the pieces together while the glue dries. |
Diy Wooden Outdoor Furniture Alternatives
Common Questions
What type of wood is best for outdoor furniture?
Do I need advanced tools to build outdoor furniture?
How long does it take to build a simple outdoor bench?
What is the best way to protect my wooden outdoor furniture?
References
- Hazardous Household Substances: Alternatives That Are Relatively ... (ask.ifas.ufl.edu)
- Recycling and value-added design of discarded wooden furniture (bioresources.cnr.ncsu.edu)
- Wood-based Energy Technologies (E3089) - MSU Extension (canr.msu.edu)
- NIGP CODE LIST - Contra Costa County (contracosta.ca.gov)
Cite this guide
DIY Wooden Garden Path Markers (2026). Diy Wooden Outdoor Furniture Alternatives. https://woodenroot.com/diy-wooden-outdoor-furniture-alternatives/
Feel free to cite or share this guide.