
Diy Raised Garden Bed
📖 Table of Contents
There's something profoundly satisfying about watching your own hands shape the earth into a raised garden bed. I still remember the first time I built one on my back deck, the scent of fresh lumber and the crisp feel of the soil under my palms. It was a small project, but it changed the way I thought about gardening. That raised bed not only became the heart of my vegetable patch but also a place where I could sit and watch the seasons change with the plants.
Building a DIY raised garden bed isn’t just about planting tomatoes and herbs; it's about creating a space that's both functional and beautiful. Over the years, I've built several different versions of these beds, each with its own purpose and style. Some were built in just one weekend, while others required a little more time and planning. What they all had in common was a sense of pride and satisfaction that comes from building something with your own hands.[1]
A DIY raised garden bed is more than a container for plants—it's a canvas for creativity, a tool for sustainability, and a way to bring a piece of nature into your backyard. Whether you're a seasoned gardener or a complete beginner, the process is rewarding and surprisingly simple. It's a project that brings a sense of accomplishment, and after just a few weeks of tending to your garden, the results are well worth the effort.[2]
Why You'll Love This DIY Raised Garden Bed
- Easy to build with basic tools and materials
- Improves soil quality and drainage for better plant growth
- Allows for easier maintenance and harvesting
- Adds a rustic, personalized touch to your outdoor space
Choosing the Right Materials
As of September 2026, when I built my first raised garden bed, I went with untreated cedar boards. They were durable, easy to work with, and looked great in my backyard. Cedar is a popular choice because it naturally resists rot and insects, making it ideal for long-term use. However, if you're on a budget, pressure-treated lumber is a more affordable option. I've used both, and I can tell you that untreated cedar lasted longer without needing any chemical treatments.
Another option is composite wood, which is made from a mix of wood fibers and plastic. These materials are incredibly long-lasting and don't require staining or sealing. They're also weather-resistant and won't warp or rot. However, they can be more expensive than traditional wood options. I've used composite boards for a few beds, and they’ve held up well even after several seasons of use.
If you're looking for something truly unique, you can build your raised garden bed from recycled pallets. This is a great way to give old materials a new life while also reducing your environmental impact. I built a couple of beds with pallets and found that they worked surprisingly well, especially when lined with landscape fabric to prevent weeds from growing up through the boards.
Select materials that match your budget and local climate. Cedar is ideal for moist areas, while composite boards are perfect for arid regions.
Part of our Top diy wooden garden bed guide.
Measuring and Planning Your Garden Bed
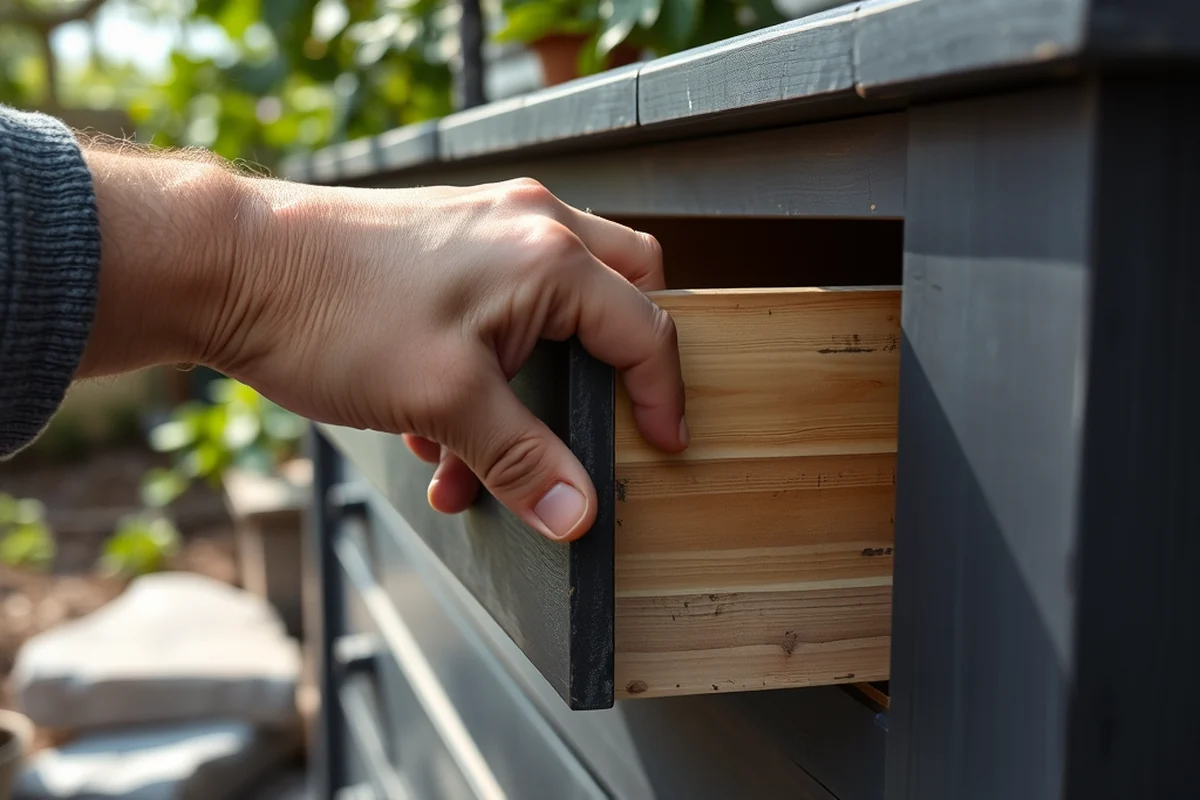
Before I started building my first raised garden bed, I spent time measuring the space on my back deck. I wanted to make sure the bed was large enough to hold a variety of plants but not so large that it would overwhelm the area. I sketched out a rough plan on paper and marked the dimensions with stakes and string. This helped me visualize the final layout and ensured that I didn't run out of space.
When I measured my garden space, I also took into account the direction of the sun and the amount of shade the area received. Most vegetables need at least six hours of direct sunlight each day, so I made sure my bed was placed where it would get the most sun. I also considered the distance from my house to avoid having to walk too far to tend to my plants.
I also measured the height of the bed. A raised garden bed should be at least 6 inches high, but for better drainage and easier access, I built mine to be 12 inches high. This height made it easier for me to reach the plants without bending over too much, and it also allowed for better root development in the soil.[3]
Measure twice, build once. A well-planned garden bed makes all the difference.
Related: Diy wooden garden house examples
Assembling the Frame
Once I had all my materials and measurements, I laid out the boards on the ground to see how they would fit together. I used a square to check the corners and made sure everything was level. This step was crucial because if the frame wasn't square, the bed would be unstable and might even collapse over time.
After assembling the frame, I used wood screws to attach the sides and ends. I made sure each screw was tight but not over-tightened, which could cause the wood to split. I also added corner brackets for extra support. This made the frame even more stable and helped prevent any wobbling.
I also took the time to sand the edges of the wood to remove any splinters. This step was important because if I had left the edges rough, they could have caused discomfort when working in the bed. After sanding, I gave the frame a light coat of wood sealant to protect it from the elements and extend its lifespan.
Always use a square to check the corners and add corner brackets for extra support. This ensures a stable and long-lasting frame.
“There's something profoundly satisfying about watching your own hands shape the earth into a raised garden bed.”— DIY Wooden Garden Path Markers editors
Related: Diy wooden garden path step by step
Adding Soil and Amendments

After the frame was assembled, I filled it with a mix of topsoil, compost, and peat moss. This combination provided the right balance of nutrients, aeration, and moisture retention. I had spent the previous few weeks collecting compost from my kitchen scraps and yard waste, and I was excited to see it come to life in my garden bed.
I also added a layer of compost on top of the soil. This helped improve the soil structure and provided a slow release of nutrients to the plants. I made sure to mix the compost into the soil thoroughly to avoid creating a layer that would wash away with the rain.
To further enhance the soil quality, I added a small amount of perlite to improve drainage and a handful of crushed eggshells for calcium. This wasn't something I had done in my first few raised beds, but I noticed a big difference in the health of the plants after I started using these amendments.
Related: Diy wooden garden path problems
Planting and Maintenance
Planting in a raised garden bed is similar to planting in any other garden, but the process is a bit easier because the soil is already loosened and enriched. I started by planting my favorite vegetables like tomatoes, peppers, and zucchini. I made sure to space the plants properly so they wouldn't compete for nutrients or sunlight.
I also planted some herbs and flowers around the edges of the bed. This not only added color to the garden but also helped attract pollinators like bees and butterflies. I found that the herbs grew beautifully and even produced a few harvests before the end of the season.
Maintenance was also easier in my raised garden bed. I could easily access the plants for watering, weeding, and harvesting. I found that I didn't have to bend as much or walk as far to take care of my garden, which made the process more enjoyable and less tiring.
Related: Cheap diy wooden garden features
Seasonal Care and Longevity
Throughout the growing season, I made a habit of checking the soil moisture levels and adjusting my watering schedule accordingly. I also used mulch around the plants to help retain moisture and suppress weeds. This simple step saved me a lot of time and effort in the long run.
At the end of each season, I would remove any dead plants and add them back into the soil as compost. This helped recycle nutrients and maintain the health of the soil for the next growing season. I also took the time to clean the frame and reapply a fresh coat of sealant to protect it from the elements.
Over the years, I've noticed that my raised garden beds have required very little maintenance compared to traditional in-ground gardens. The soil has remained loose and fertile, and the plants have continued to thrive with minimal effort. This has made me a much more consistent gardener, even during the busiest times of the year.
Seasonal care and proper maintenance make your garden bed last longer and produce better results.
Related: Cheap diy wooden garden projects
Designing for Aesthetics and Function
When I built my raised garden bed, I wanted it to look like a natural extension of my backyard. I chose to paint the frame a soft green to blend in with the grass and plants. This simple touch helped the bed disappear into the landscape, making it feel like it had always been there.
I also added some decorative elements like a few garden stakes and a small trellis for climbing plants. These details not only added visual interest but also made the space more functional. The trellis was especially useful for growing beans and peas, which climbed beautifully up the structure.
Another detail I added was a small wooden bench nearby. This gave me a place to sit and enjoy my garden while working or just taking a break. I found that having a place to relax made the time I spent in the garden even more enjoyable and rewarding.
💰 Budget Build
Use recycled materials like pallets or scrap wood to keep costs low while still creating a functional garden bed.
⏰ Weekend Version
Build a simple raised bed in one day with minimal tools and materials, perfect for a quick project.
🎨 Upgraded Finish
Add a stain or paint to your garden bed to give it a personalized, polished look that enhances your outdoor space.
📐 Small-Space Adaptation
Create a compact raised bed that fits in small yards or patios, ideal for urban gardeners with limited space.
🏠 Rental-Safe Option
Build a temporary raised bed using materials that won't damage rental properties, like pressure-treated lumber or composite boards.
| The mistake | Why it happens | The fix |
|---|---|---|
| Not measuring the space properly | If you don't measure the space before starting, you may end up with a bed that's too large or too small for the area. | Always measure the space first and mark the dimensions with stakes and string before cutting any wood. |
| Using untreated wood in a wet climate | Untreated wood can rot quickly in moist areas, which can lead to a shorter lifespan for your garden bed. | Use treated or naturally rot-resistant wood like cedar or composite boards in wet climates. |
| Not adding a layer of compost | Without compost, your soil may lack the nutrients needed for healthy plant growth. | Always add a layer of compost to your garden bed before planting to improve soil quality. |
| Neglecting to line the bottom of the bed | If you skip lining the bottom with landscape fabric, weeds may grow up through the wood, making maintenance more difficult. | Always line the bottom of your raised garden bed with landscape fabric to prevent weeds from growing up through the wood. |
Diy Raised Garden Bed
Common Questions
What is the best wood to use for a raised garden bed?
How deep should my raised garden bed be?
Can I build a raised garden bed on concrete?
How long does a raised garden bed last?
References
- Sowing the Seeds of Victory: Capitol War Gardens | AOC (aoc.gov)
- President's Environmental Youth Award (PEYA) Winners - US EPA (19january2017snapshot.epa.gov)
- ENH1211/EP472: Gardening in Raised Beds - Ask IFAS (ask.ifas.ufl.edu)
Cite this guide
DIY Wooden Garden Path Markers (2026). Diy Raised Garden Bed. https://woodenroot.com/diy-raised-garden-bed/
Feel free to cite or share this guide.